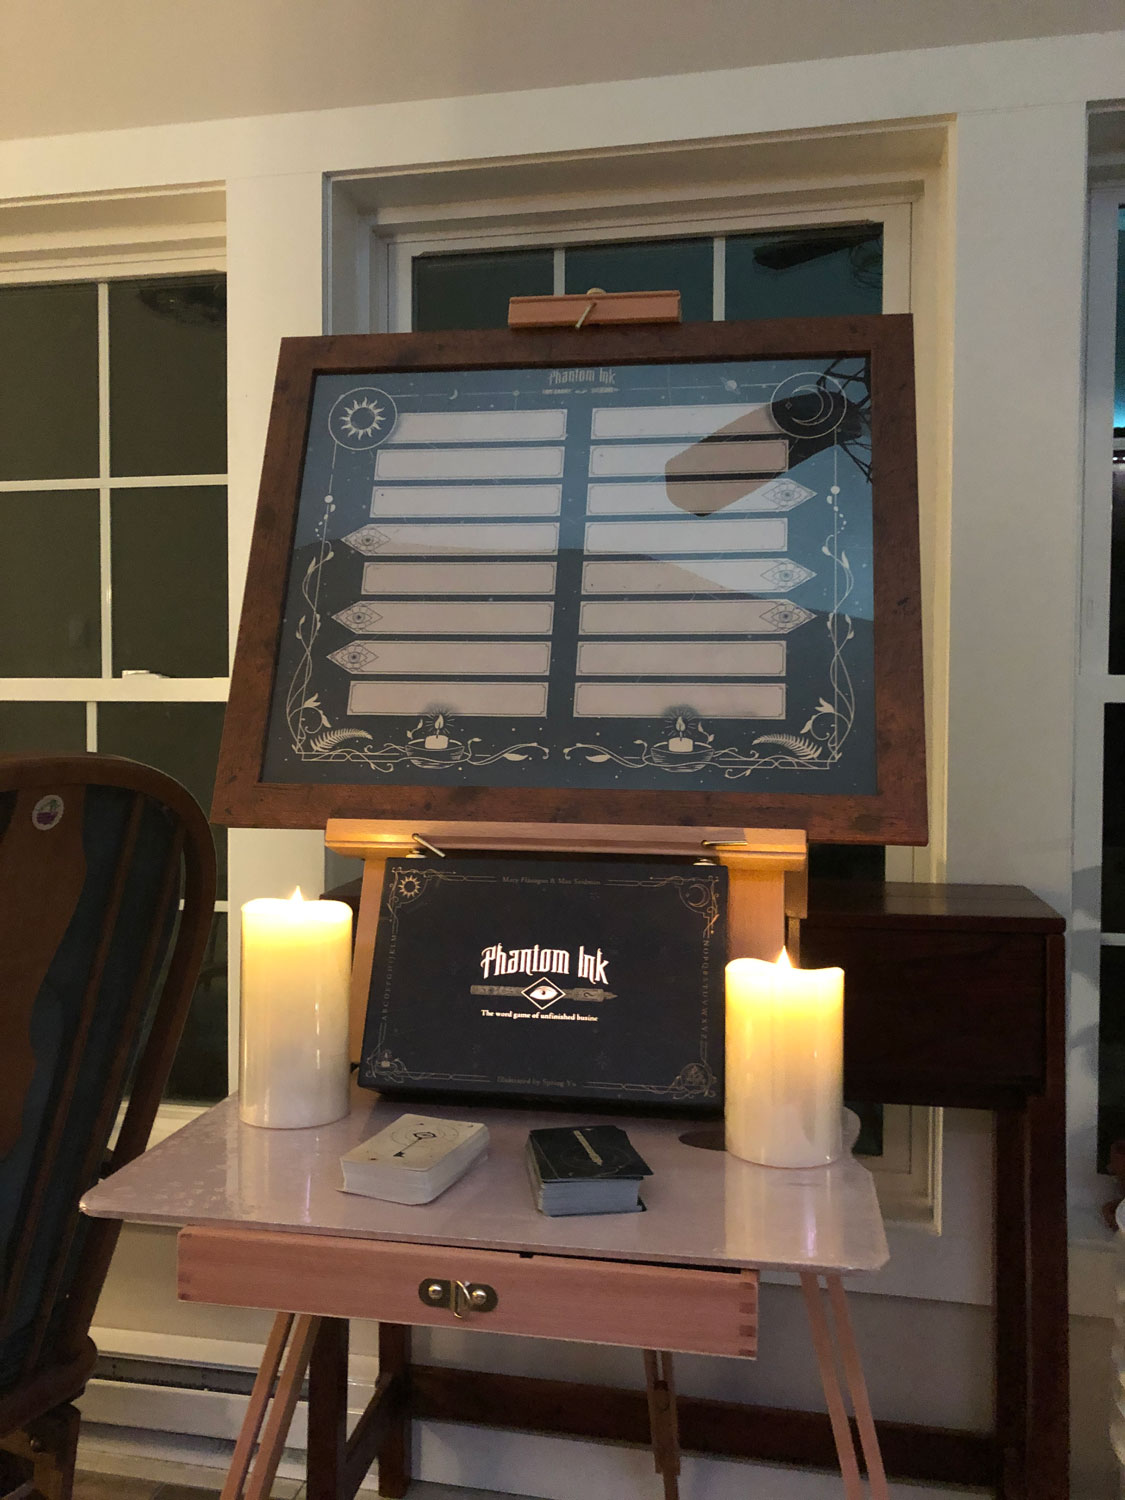
The most common question our team gets asked at conventions is “How do I get the giant dry erase Phantom Ink board?” So we’ve finally decided to answer the question. The good news is that you can make it yourself with a bit of work:
Step 1 – Get Phantom Ink
If you don’t already have a copy of the game, you’re going to need the cards to play your large version. Ask your local game store for a copy, order it on our webstore, or find it online.
Step 2 – Print the Board
The giant Phantom Ink print pictured above is 16×20 inches (a standard size for picture frames). Download this PDF, and send it to your local print shop to print!
You can even go bigger—24×36 inches works well, too!
Step 3 – Get a Frame
Head to your local craft or frame store (or even thrift store) to get a 16×20 inch frame for your print. We used this one from Michaels, but any appropriately sized frame should do.
If you’re going to 24×36 inches, you can use this frame.
Step 4 – Test Markers
Not every dry erase marker works on every frame. In an unobtrusive corner, test to make sure that your dry erase markers will rub off. Glass works with most markers, but our Michaels frame is plastic and we found it doesn’t work well with Expo markers, but works very well with Martha Stewart brand dry erase markers. Wet erase markers almost always work, too.
Finally, hang your frame on the wall, or put it on an easel and you’re ready to go.
Silencio!

